I mentioned it in my configuration showcase post, but not too long ago, I started feeling a little discomfort in my hands after long days of typing. Another thing I noticed, apart from finger contortionism, was that my hand position was uncomfortable on the wrist rest with my wrists doing a small but persistent extension while using the keyboard, probably because I have rather large hands, so I would rest my hands on the wrist rest and have to bend my fingers a lot to get at the keys.
My old wrist rests, although having held up pretty well, were also starting to look disgustingly worn. So I decided to play around with a different profile for the wrist rests, inspired by the keywell style of keyboards.
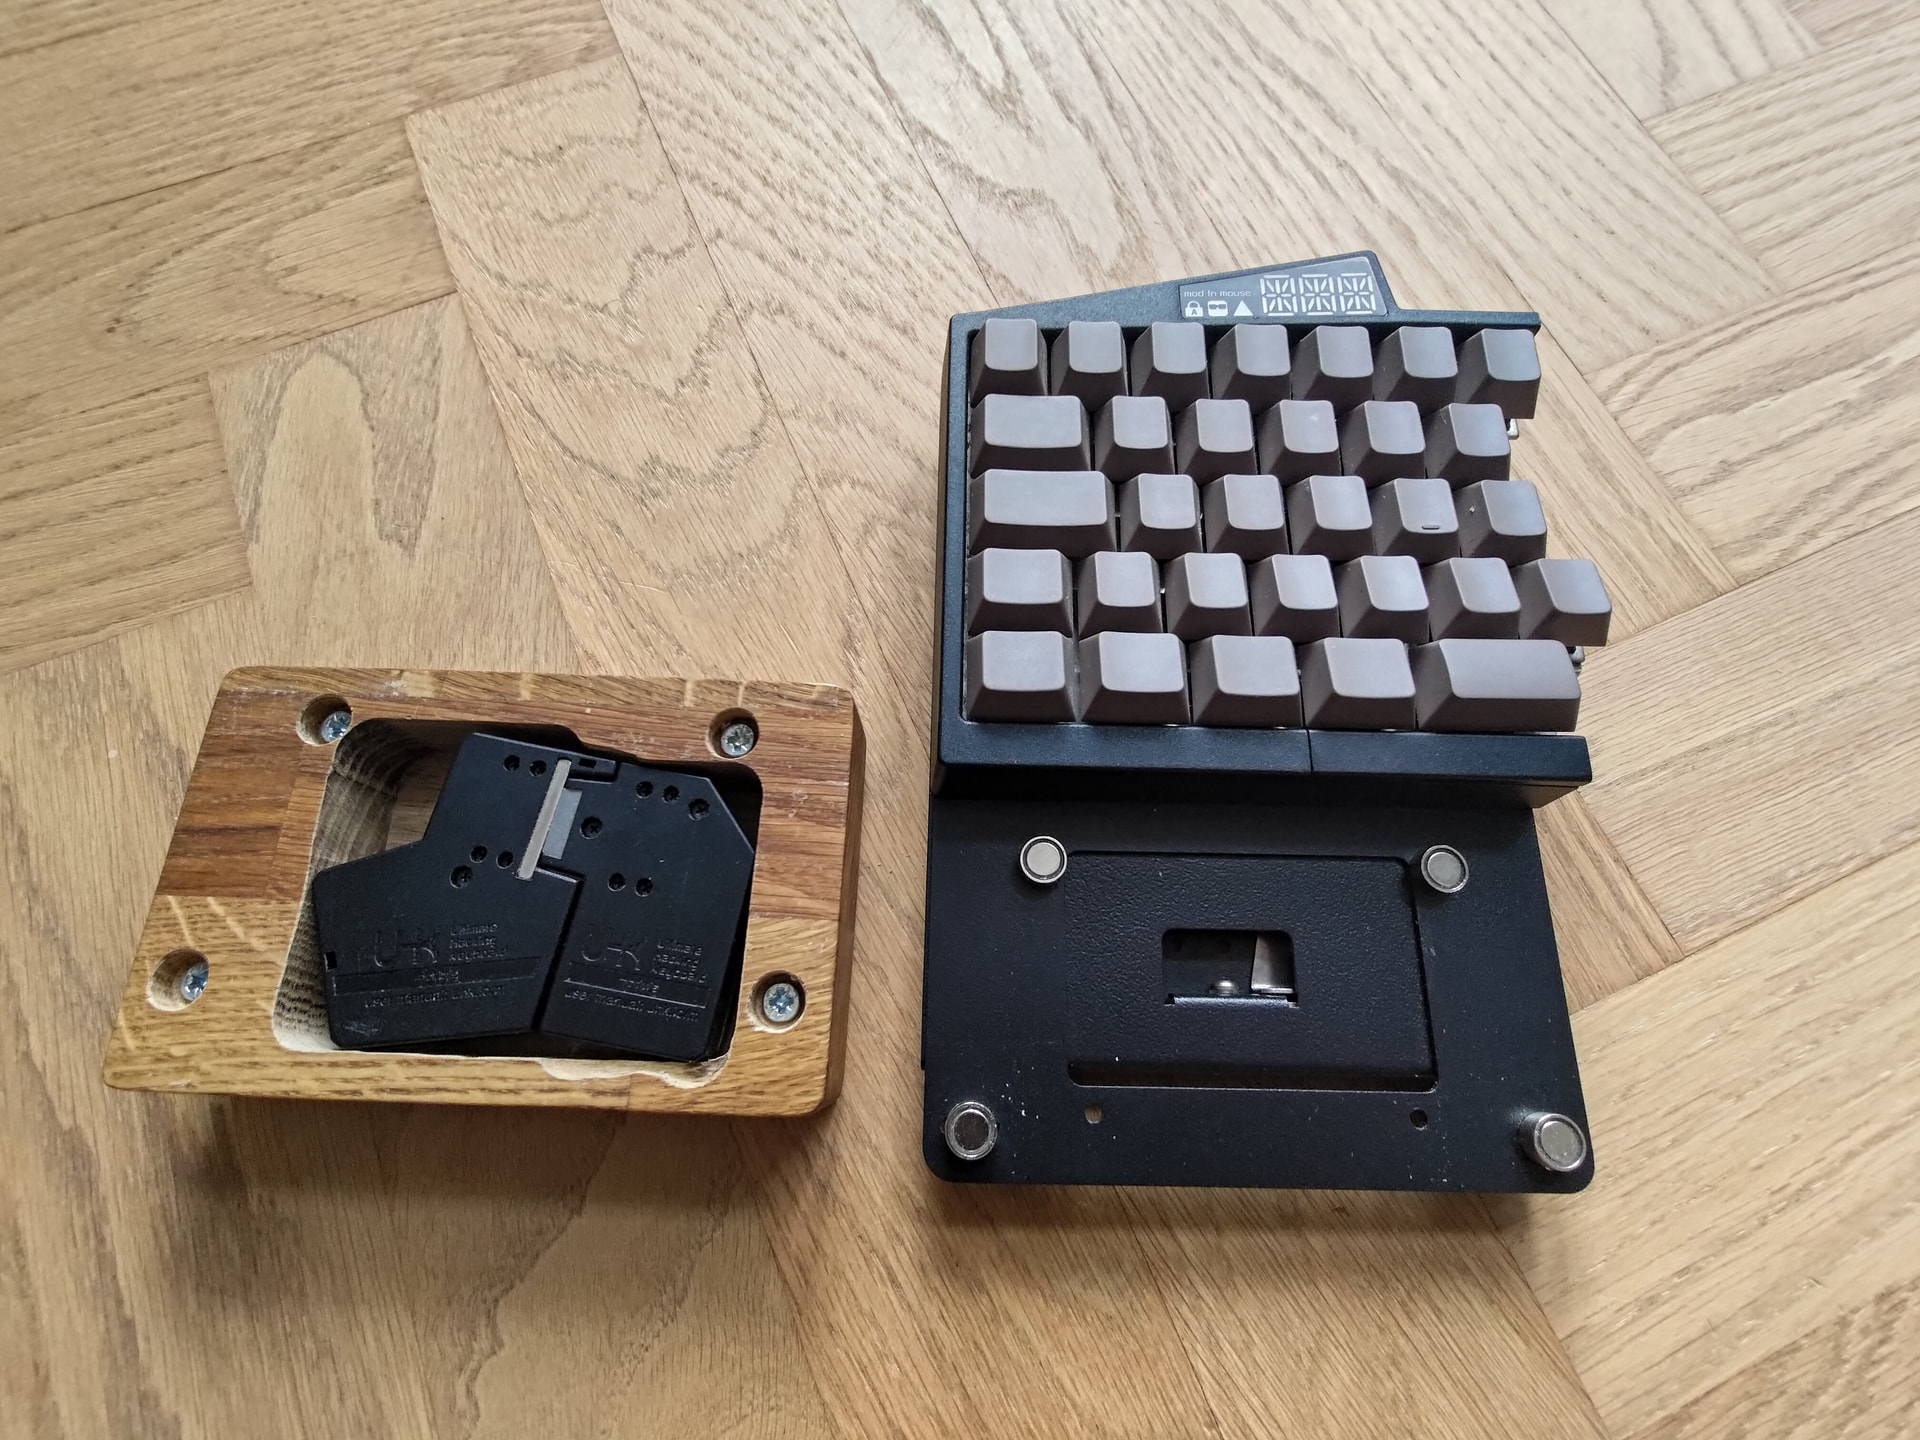
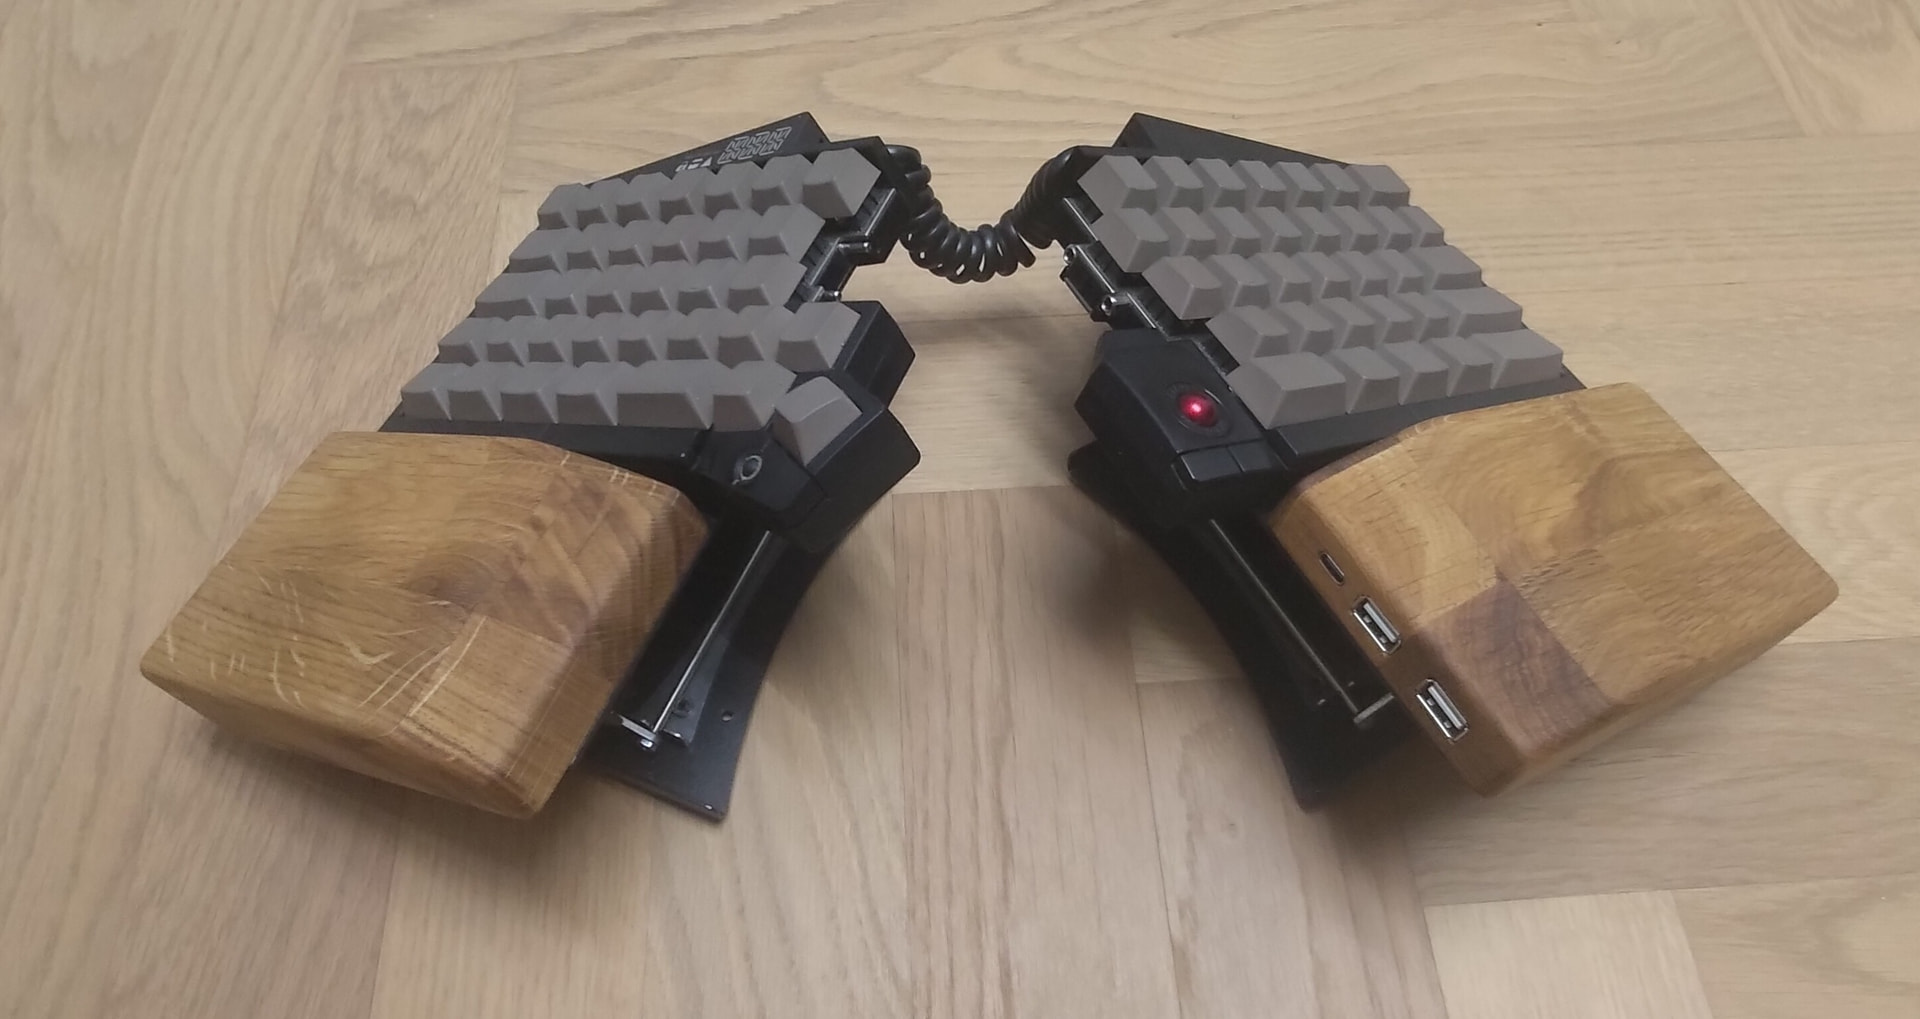
And so were born the Habsburg Chin Wristrests:
Made from leftover oak from some table. 3.25cm thick, 8.5cm broad, they are considerably thicker and a little broader than the standard ones. This allows me to access the bottom keys a lot easier than with the standard wrist rests.
The wood has been treated with a lot of coats of pure tung oil. They must be pretty saturated by now, and have been allowed a lot of time to cure, though they are not completely cured yet. I originally wanted to keep going until it started settling on top of the wood like a lacquer finish, but I eventually decided against it because it will eventually need to be re-treated, and that will be hard to do to that finish again considering the other features of the wrist rests.
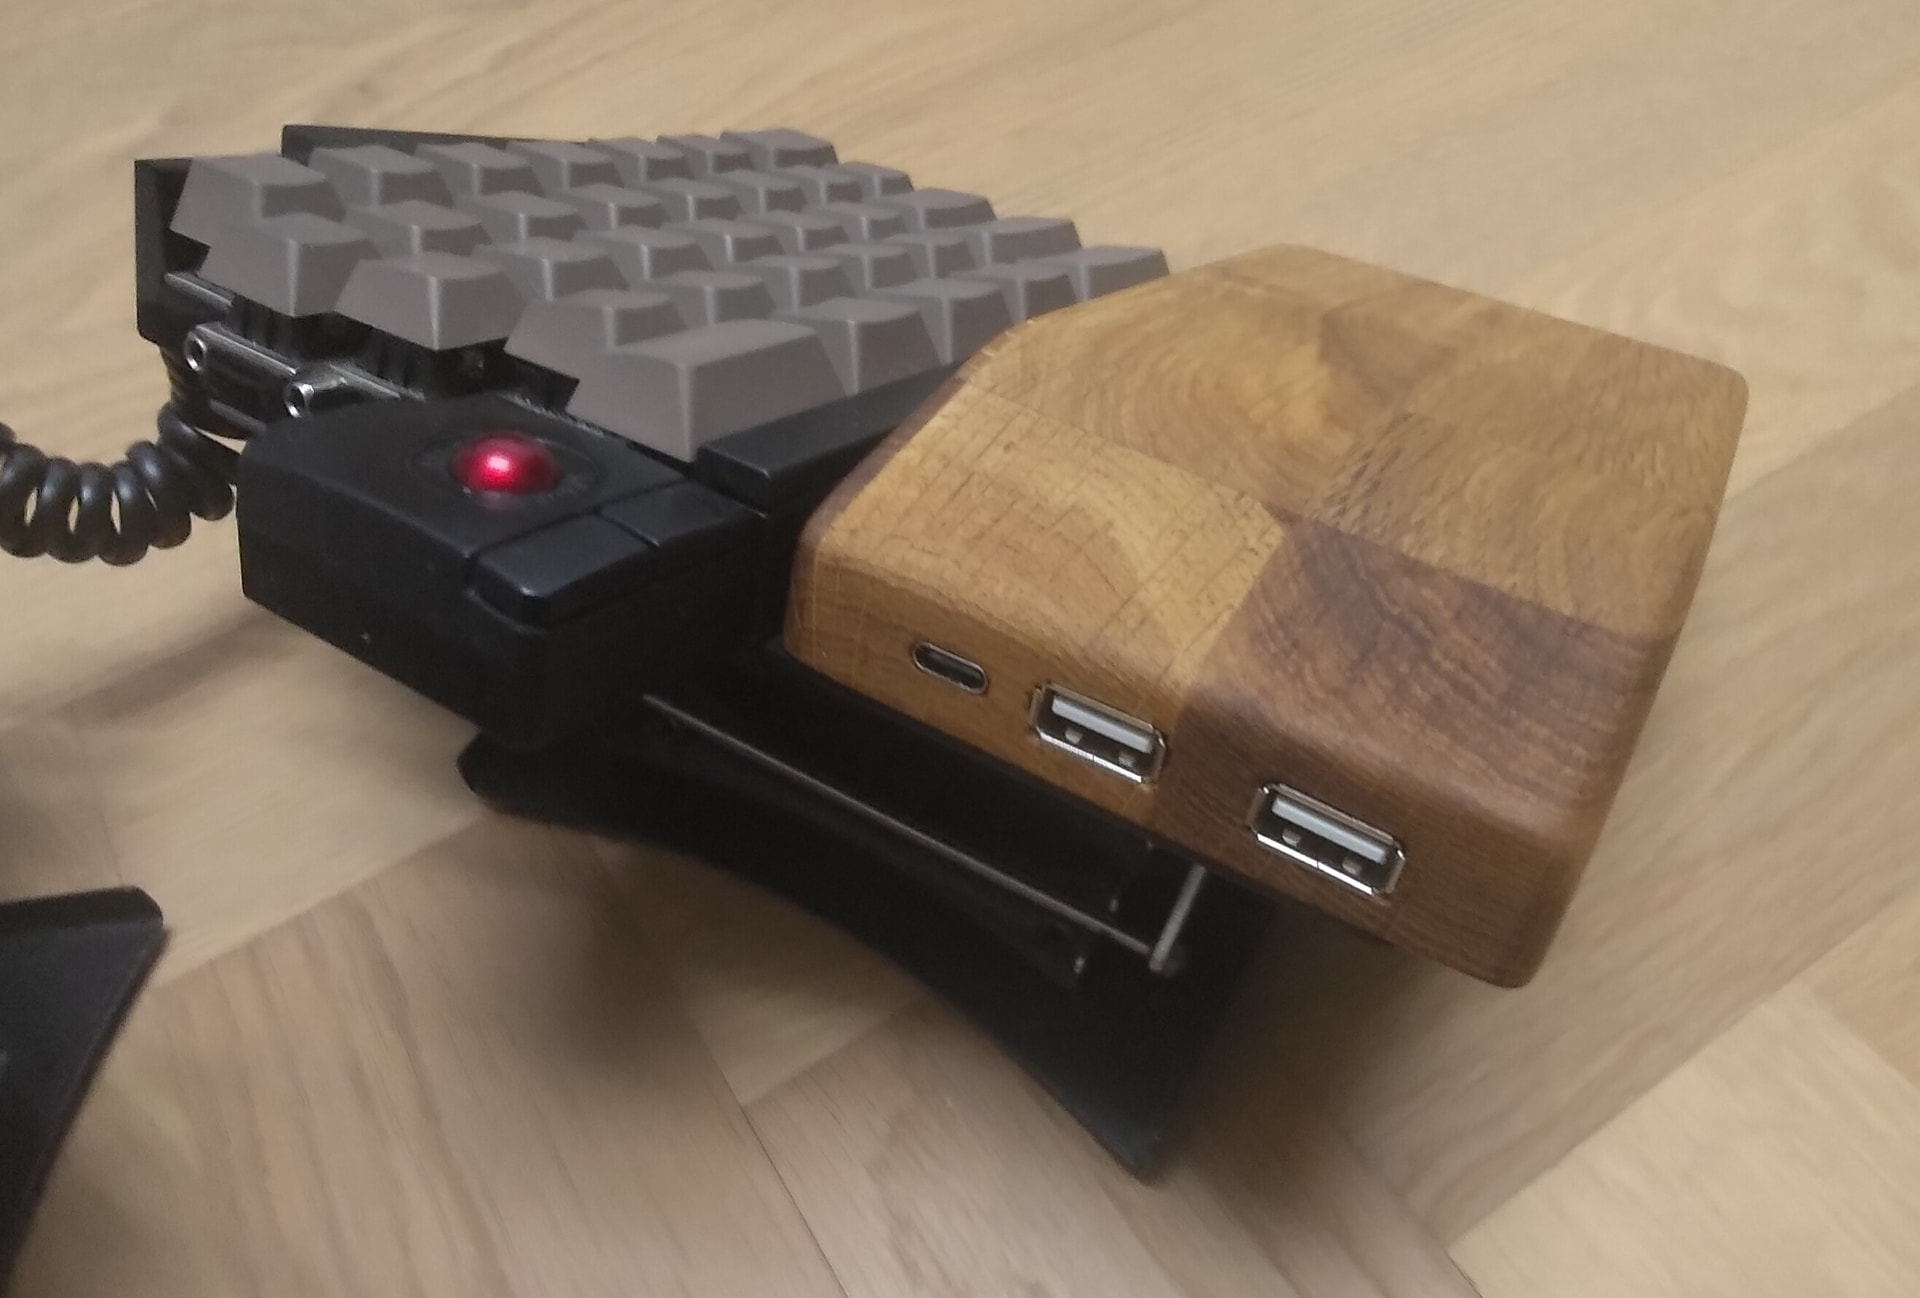
While I was at it, I built an old USB 2 hub I had lying around into the right rest. The wood has been hollowed out to house the hub with plenty of room to spare for future shenanigans, possibly involving a Bluetooth adapter and a battery.
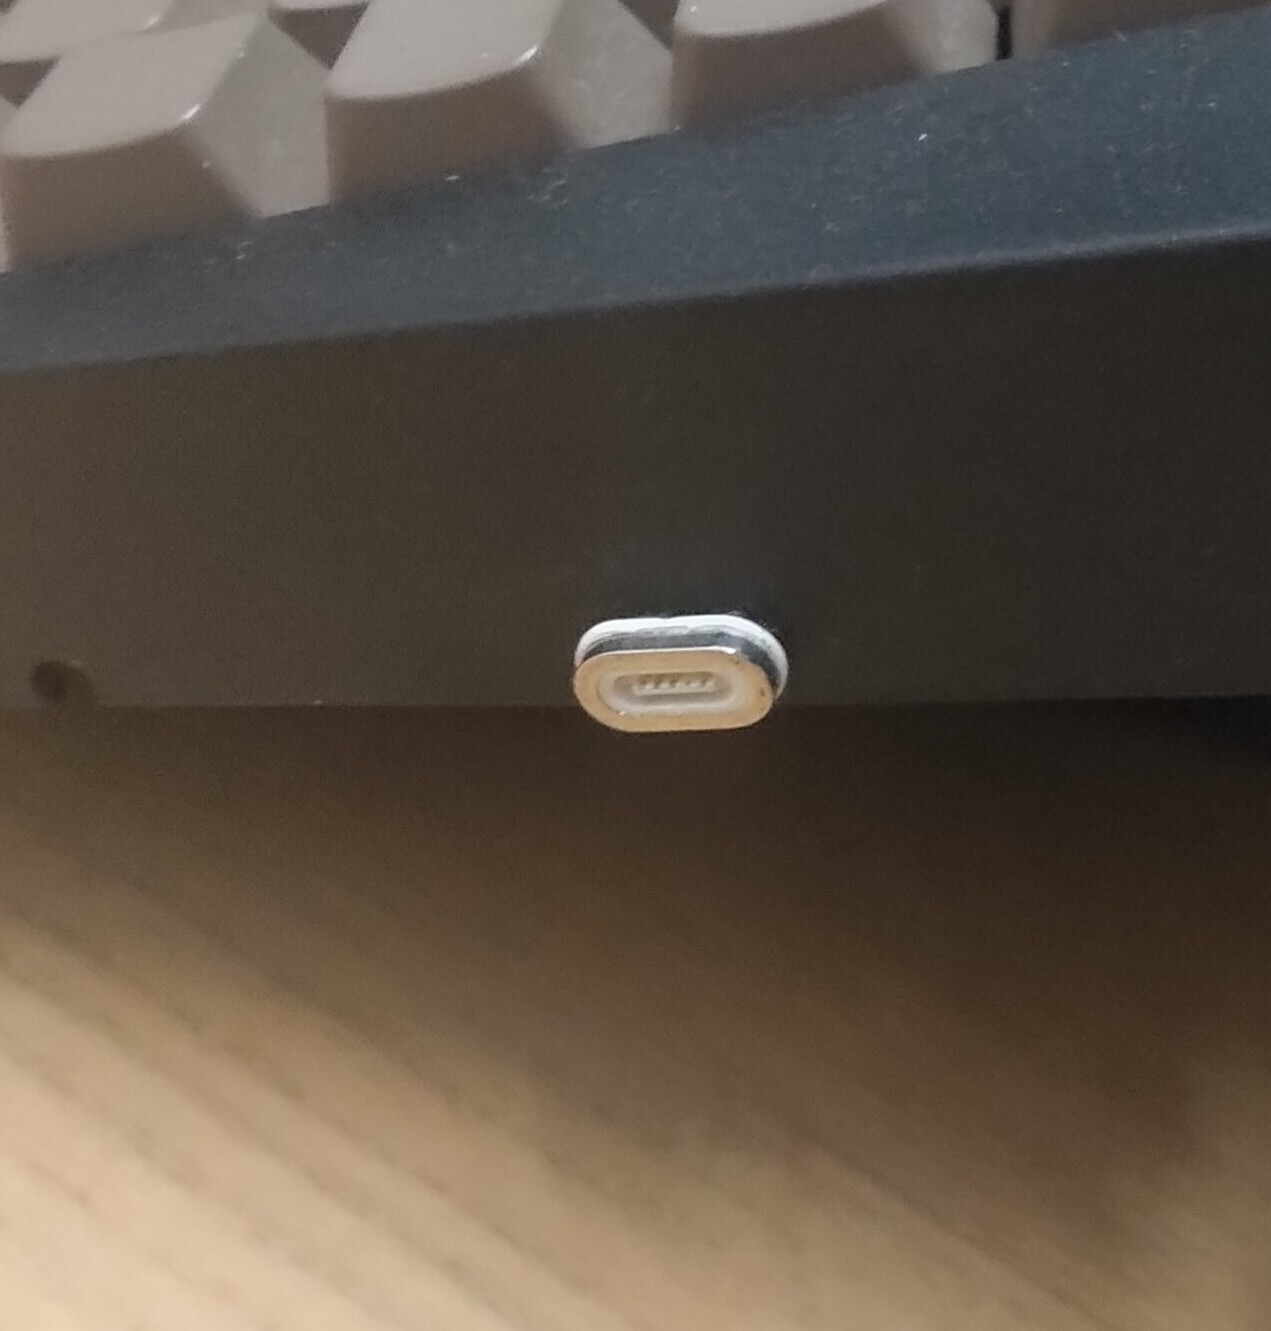
I have also retrofitted a Micro USB port on the board. I previously had a type C, but I decided to go with a Micro instead because I have a lot of magnetic attach adapters for those, but not a lot of type Cs, and I need those for my phone.
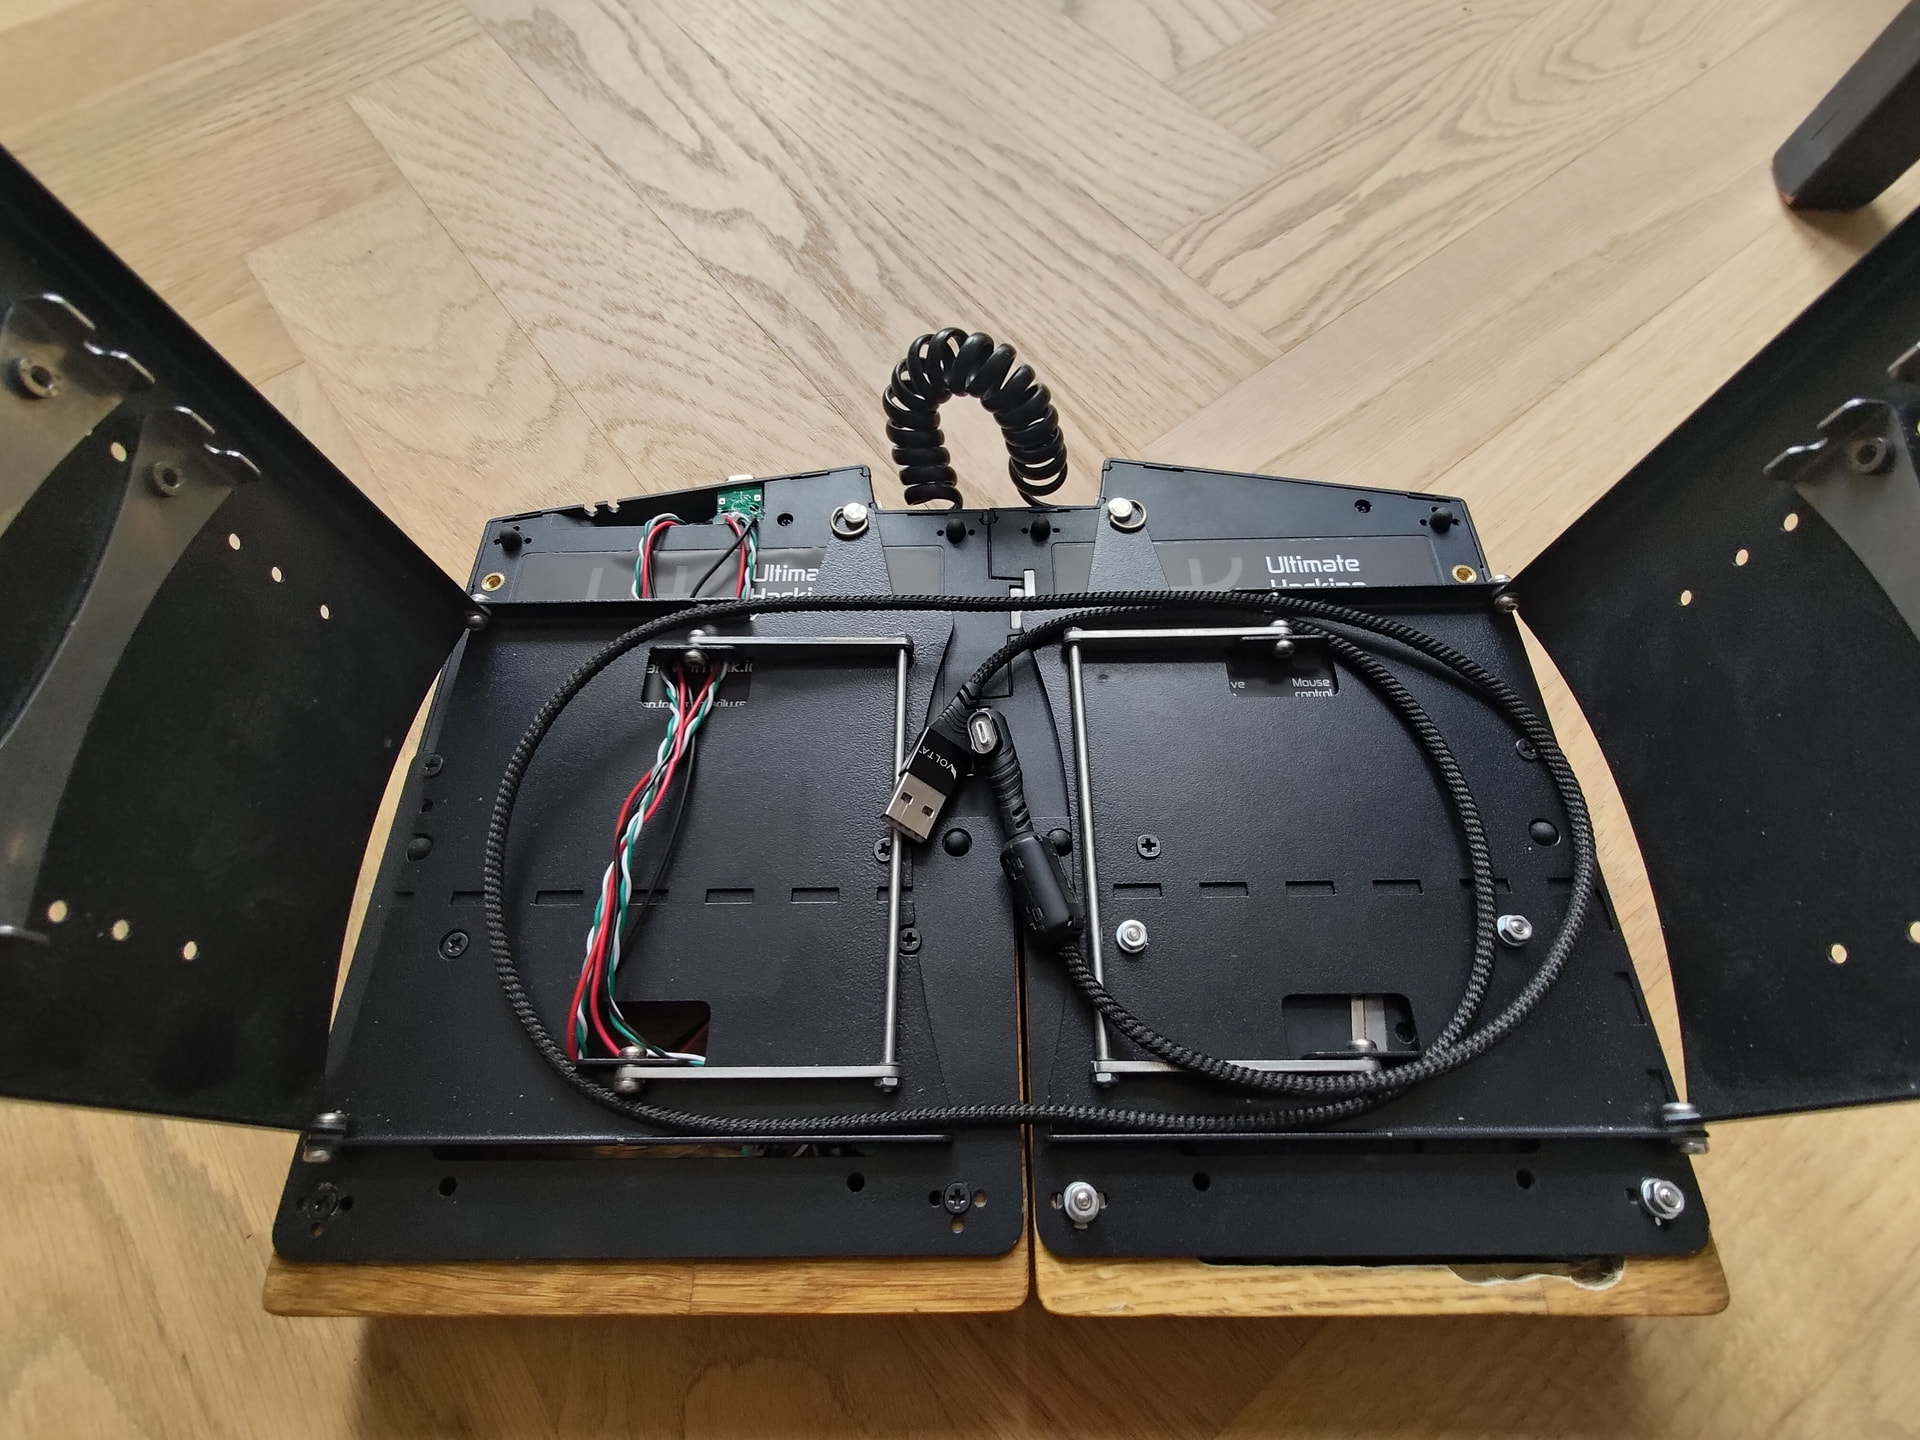
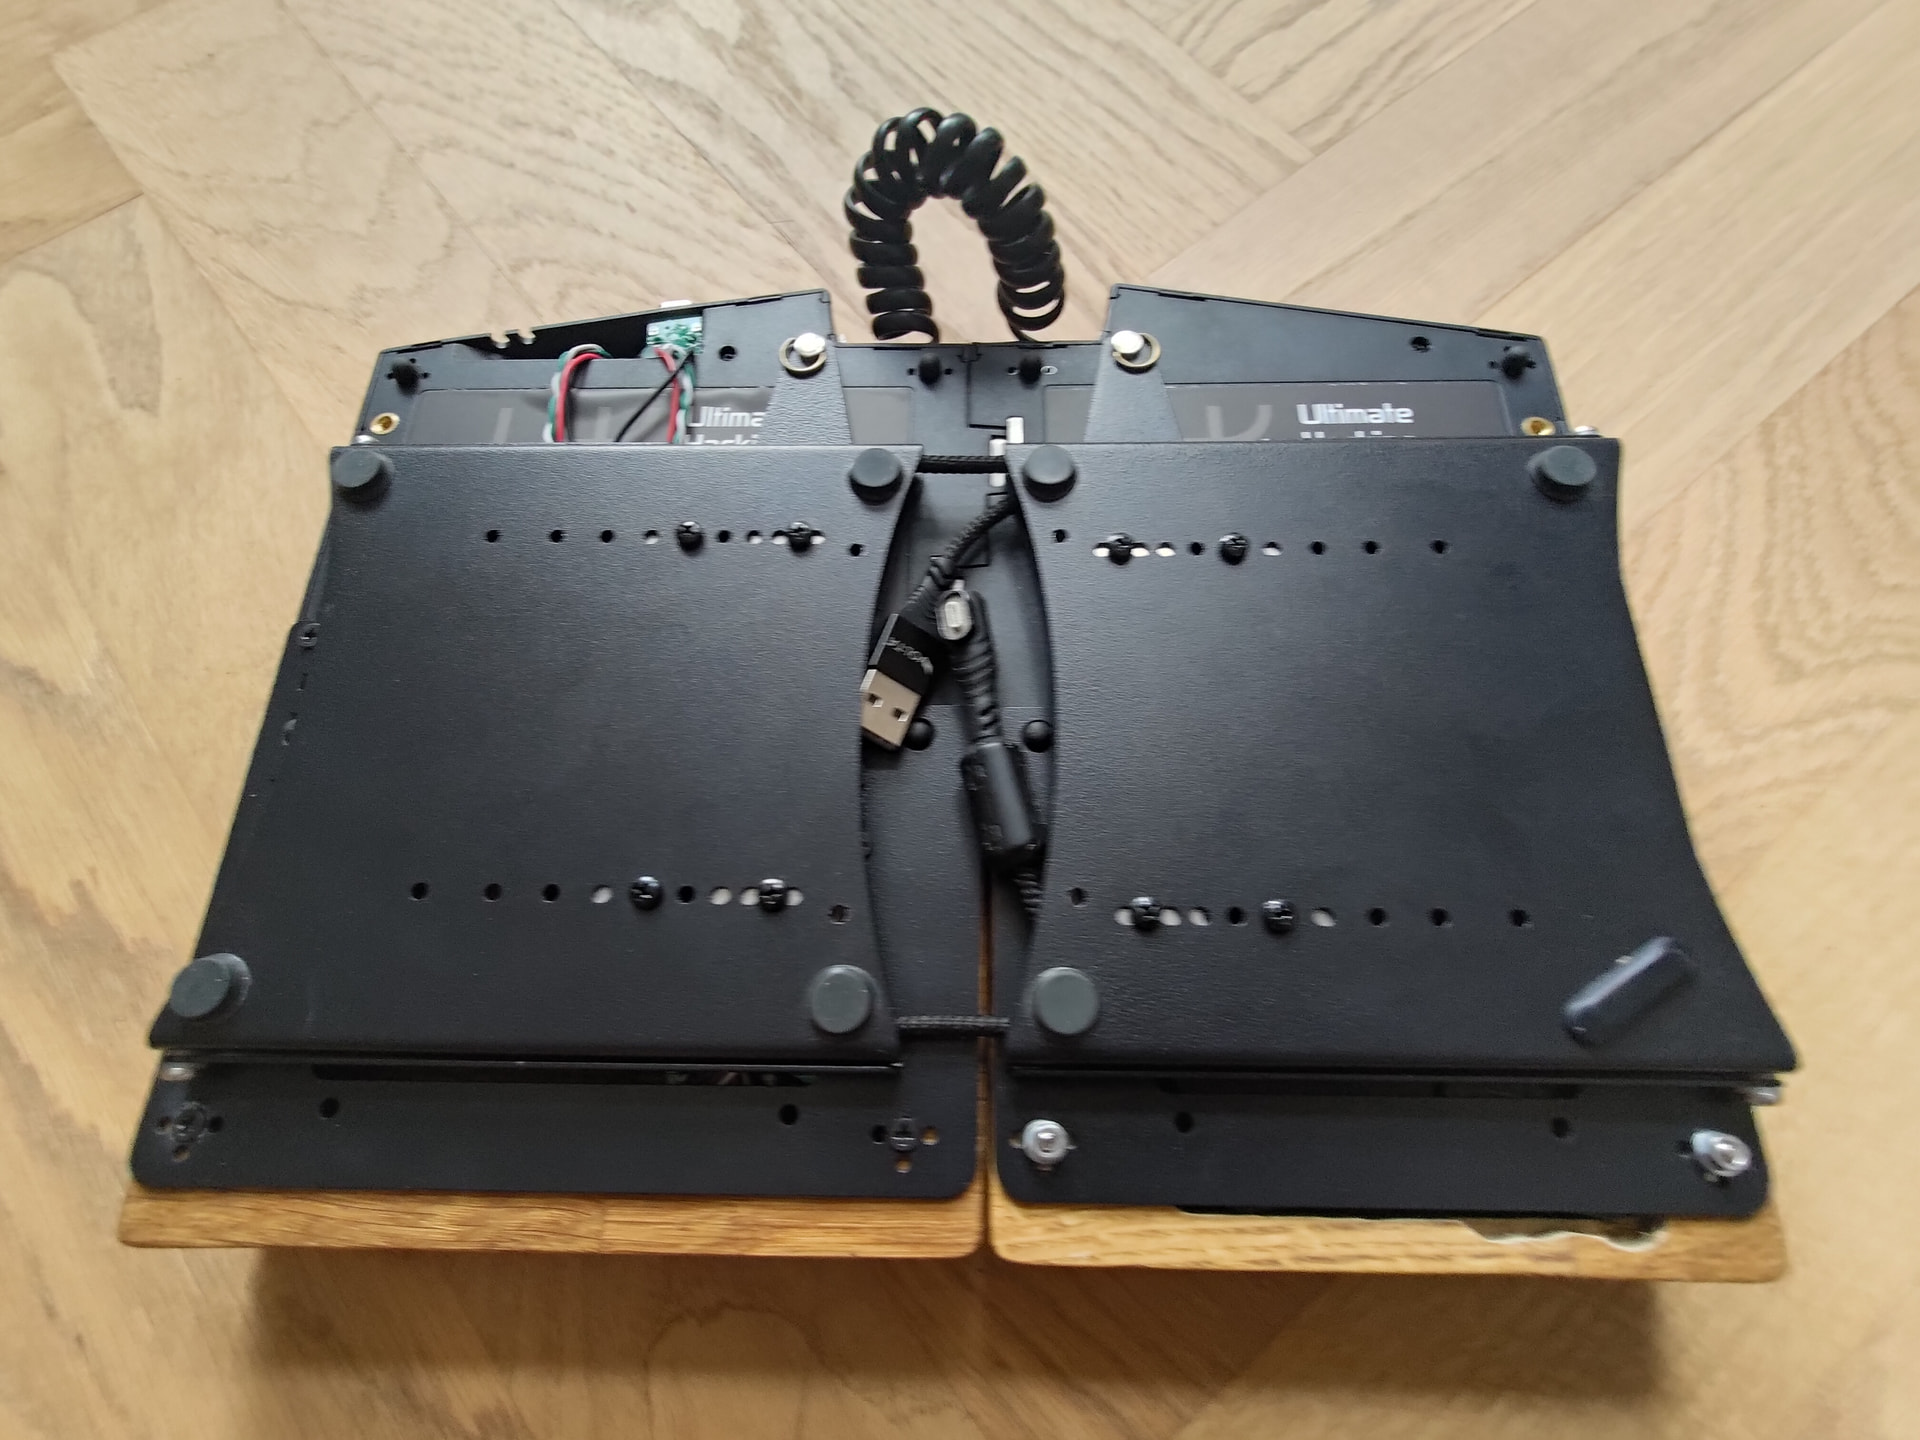
The wiring is done like so:
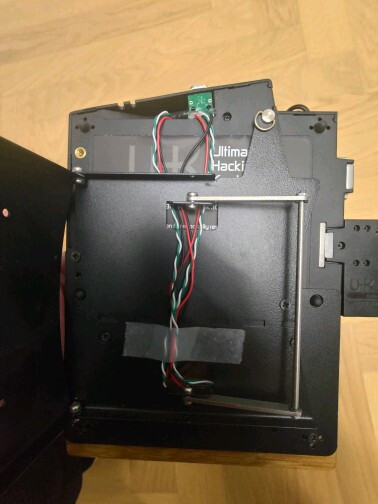
I must say that the wrist rests and risers are very accommodating to electronics being built into the rests. Well done on that, guys!
While talking about the keyboard and mods, I can also mention that I have added backlight LEDs in the board. White, except for blue under the finger home positions, including the space buttons. Furthermore, I have replaced the case recently, and to prevent the screw mounts crumbling away again (the reason I replaced the case in the first place,) I have reinforced them with glued shrink tubing.
Also some silicone dampener rings on the obviously third party keycaps.
I recently sold the other board I had, on which I had replaced all the original Kaihl Blues with MX Browns, added LEDs and retrofitted a type C port. Replacing those switches was quite an undertaking. Good thing you have swapable keys in the future models.
I think that sums up my modding.
Are those sufficiently brutal for you, @pcooke9? ![]()